Design a complete electronics cooling solution
Starting with a basic flow through a heated duct, we will build towards a full-board simulation of a Raspberry Pi 5 and its Active Cooler, one useful result at a time.
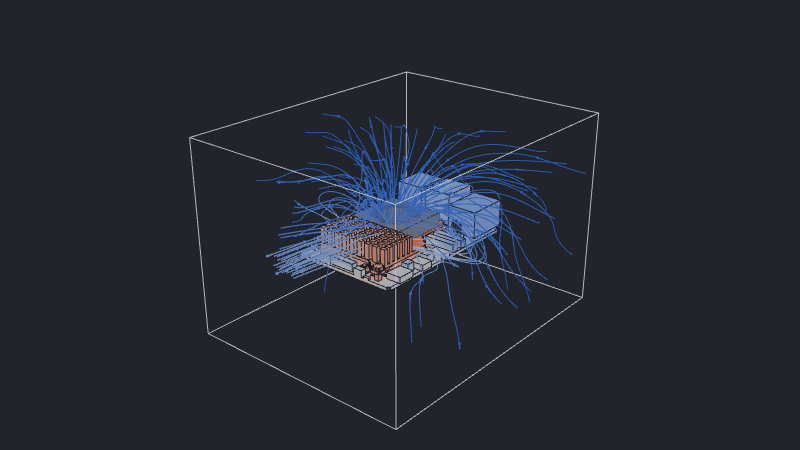
Along the way, we will learn to identify a weak heat path, add airflow and a heatsink, and compare designs against a temperature limit:
- Explore flow through a heated duct and complete the edit–submit–inspect loop.
- Add solid components and see how material choice changes heat transfer.
- Model a chip and measure its junction temperature.
- Add an annular fan and discover why airflow alone is not enough.
- Add a CAD heatsink to complete the heat path and meet the temperature goal.
- Test a Raspberry Pi 5 bare and cooled at the same operating point.
Follow the stages in order, or use the completed download on any page to begin from the point closest to the model we want to build. Start with Explore flow through a heated duct.